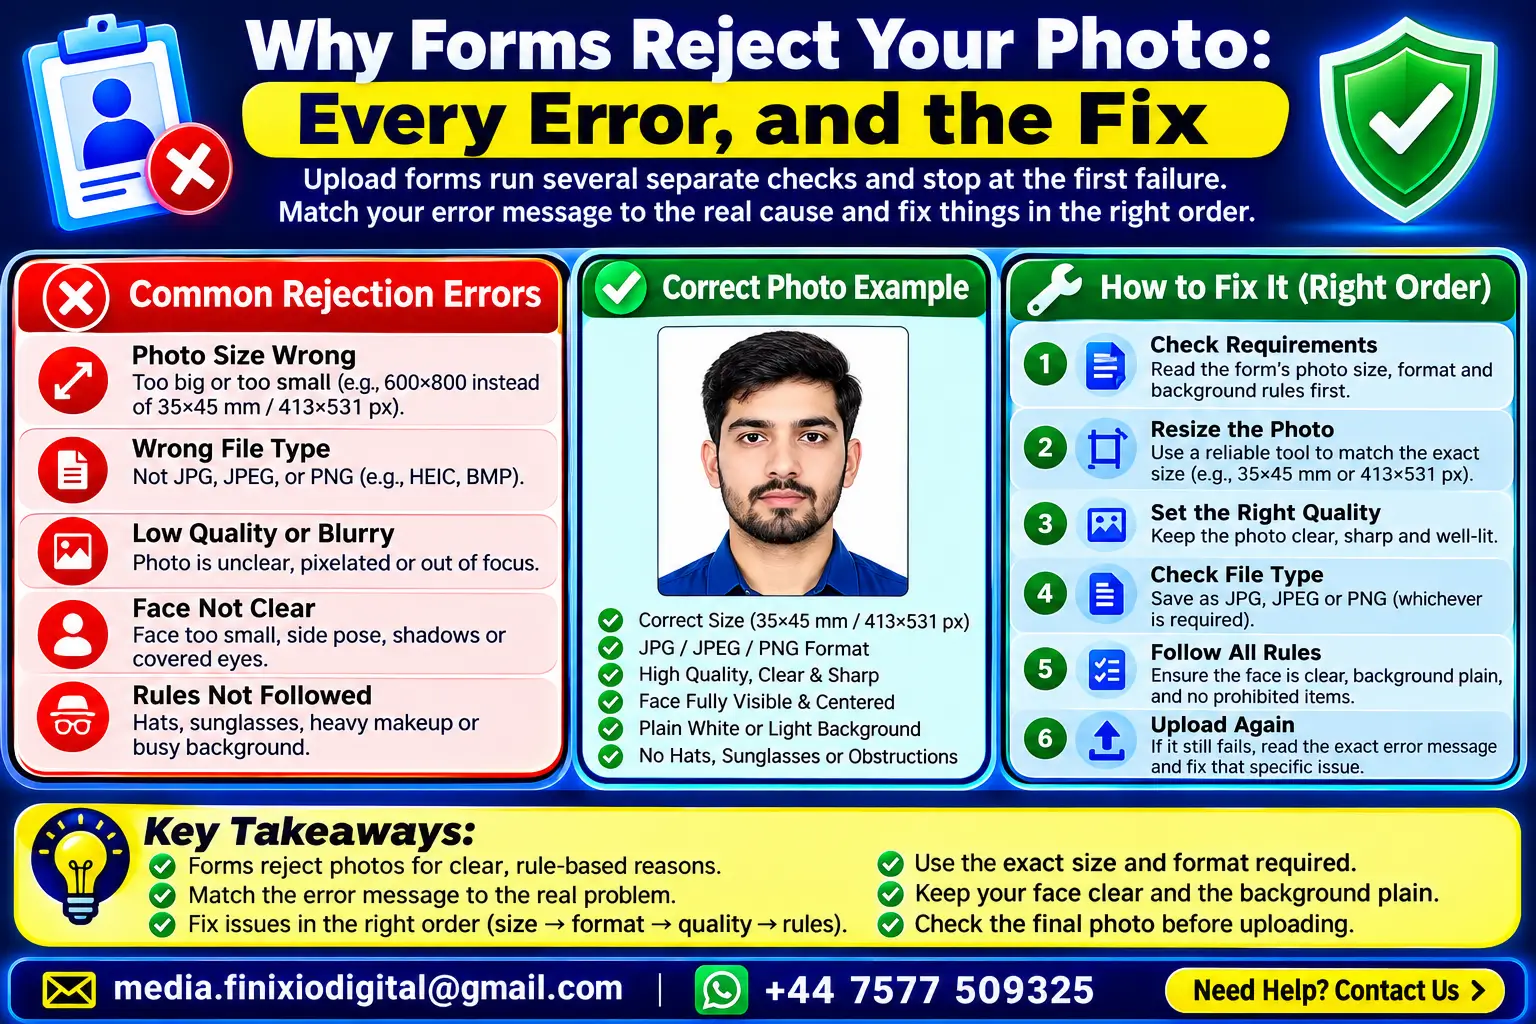
Upload forms do not run one test on your photo; they run several, and they stop at the first failure. That is why fixing the file size often produces a brand new error. This guide matches every common rejection message to what actually failed, then gives the fixing order that stops the loop.
The short answer
An upload form does not run one test on your photo. It runs several independent tests, and it stops at the first one that fails.
That is why fixing the file size sometimes produces a brand new error. You did not break anything. You passed one check and moved on to the next one.
The error message tells you which test failed. Read it carefully, because it is the whole diagnosis.
Match your error message to the real problem
| What the form says | What failed | The fix |
|---|---|---|
| File size exceeds limit | KB is above the maximum | Compress to a KB target below the limit |
| File too small | KB is below the minimum | Aim mid range, not at the smallest possible size |
| Invalid dimensions | Pixel width or height is wrong | Resize to the exact pixels named |
| Invalid image size or ratio | The shape is wrong | Crop to the correct ratio, then resize |
| Invalid file type | Format not accepted | Convert to JPG |
| Nothing happens at all | The browser cannot read the file | Usually HEIC from an iPhone. Convert to JPG. |
| Image not clear | A person is reviewing it | Start again from a sharper original |
Check 1: the file size in KB
This is the check everyone knows about, and it has a second half that catches people out.
The minimum is the real trap
Many forms ask for a range, for example, between 20 KB and 50 KB. People compress as hard as possible, land at 12 KB, and get a fresh error saying the file is too small.
Aim for the middle of the range. If a form wants 20 KB to 50 KB, target around 40 KB. You clear the minimum comfortably and stay well under the maximum.
KB is not always the same number of bytes
Some systems count 1 KB as 1024 bytes and some as 1000. A 50 KB ceiling might mean 51,200 bytes or 50,000. Aim at the smaller reading, and you pass under either rule.
Check 2: dimensions and shape are two separate tests
This is the part most guides collapse into one, and they are genuinely different.
Dimensions
The exact pixel width and height. A portal expecting 200 by 230 pixels will reject a 1500 by 2000 pixel photo straight from your camera, no matter how good it looks or how small the file is.
Aspect ratio
The shape, width against height, independent of the pixel count. A signature box that wants a wide landscape image will reject a square crop even when the pixels and the KB are both correct.
Get the order right: crop for shape first, then resize for pixels. Resizing a wrongly shaped image only stretches or squashes the face. Cropping afterwards undoes the resize you just did.
When the size is given in centimetres
Convert it: pixels = centimetres multiplied by DPI, divided by 2.54. At 300 DPI, a 3.5 cm by 4.5 cm photo is roughly 413 by 531 pixels.
Check 3: the file format
Most government and job portals accept JPG only. Some also take PNG. Very few take anything else.
- HEIC is the default on modern iPhones and almost no portal accepts it. It often fails silently, so nothing happens when you pick the file.
- PNG is accepted more often, but it stores everything losslessly, so PNG files are far heavier and are hard to squeeze into a small KB limit.
- WebP is excellent and modern, and almost no portal accepts it.
Fixing HEIC on an iPhone, permanently
Open Settings, then Camera, then Formats, and choose Most Compatible. From then on your phone saves JPG. Photos you already took still need converting.
If you want the background on why this format exists at all, the Wikipedia entry on HEIF covers it neutrally.
Check 4: the things a person looks at later
Passing the upload does not mean passing the application. The automatic check only tests size, dimensions, and format. A human may look at the photo weeks later.
- Background colour. Many forms want plain white or plain light. A patterned wall can fail a manual review that the upload accepted.
- Sharpness. A photo compressed to the smallest possible KB can be rejected as unclear even though it uploaded fine.
- Face position and visibility. Different forms have different rules here.
- A printed date, which some forms require on the photo itself.
These rules come from your own official notification, not from any tool website. Sites that publish tidy tables of exam requirements often disagree with each other, and we explain why we do not repeat them on our disclaimer page.
The sequence that avoids the loop
Doing these in the wrong order is what creates the cycle where fixing one error causes another.
- Convert the format to JPG if it is not already
- Crop to the right shape that the form asks for
- Resize to the exact pixel dimensions
- Compress to the KB target, aiming mid range if a minimum exists
- Open the finished file and look at it before uploading
Size last is the key. Every earlier step removes data, so compressing first means you throw away quality and then throw away more of it.
Confused about which number is which in the first place? KB vs resolution explains both. To hit a KB target exactly, use the exact size tool, which runs in your browser and never uploads your photo.
Before you upload, thirty seconds of checking
- File name is plain, like photo.jpg, with no spaces or symbols
- Format is JPG unless the form clearly allows something else
- KB sits inside the range, not at the very bottom of it
- Pixel dimensions match what the notification says
- You have opened the file, and it still looks like you
- The original is saved somewhere, in case a correction window opens
Frequently asked questions
Why does the form say my photo is too small after I compressed it?
Many forms set a minimum as well as a maximum, for example between 20 KB and 50 KB. Compressing hard pushes the file under the minimum. Target a number in the middle of the range instead of the smallest possible size.
My iPhone photo will not upload at all. What is wrong?
It is probably in HEIC format, which most portals do not accept. Open Settings, then Camera, then Formats, and choose Most Compatible so new photos save as JPG. Existing photos need converting to JPG first.
Do I fix the dimensions or the file size first?
Crop for the correct shape, then resize to the required pixels, then compress to the KB target. Doing it in that order means the compressor is working on a small image and the result stays sharp.
The portal accepted my photo but the form was still rejected later. Why?
The upload check is automatic and only tests size, dimensions and format. A human check later can still reject a photo for a coloured background, a blurred face or a missing date. Read your own official notification for those rules.